


That first glimpse in a dusty garage, the sun catching a sliver of chrome under decades of grime… it gets you, doesn’t it? There’s a soul in an old bicycle. Restoring one isn’t just a project; it’s an act of rescue. It’s about giving a piece of history a second life on the road.
But here’s the deal: there’s a crucial difference between restoration and preservation. One aims to make it look brand new, the other to honor its well-earned patina. Your journey starts by deciding which path to take.
The First Step: Assessment and Your Restoration Philosophy
Before you touch a single bolt, just look. Sit with the bike. Turn the pedals. Check for seized parts. Honestly, this initial assessment is the most important part of the entire process.
Ask yourself these key questions:
- What’s my goal? A concours-level showpiece? A reliable Sunday cruiser? The answer dictates your budget and effort.
- How original is it? Are the components all from the same era? A bike with its original paint and parts might be a better candidate for preservation.
- What’s the structural integrity? Look for deep rust, especially on the frame tubes, forks, and around lugs. Surface rust can be dealt with; structural corrosion is a deal-breaker.
The Art of the Tear-Down: Document Everything
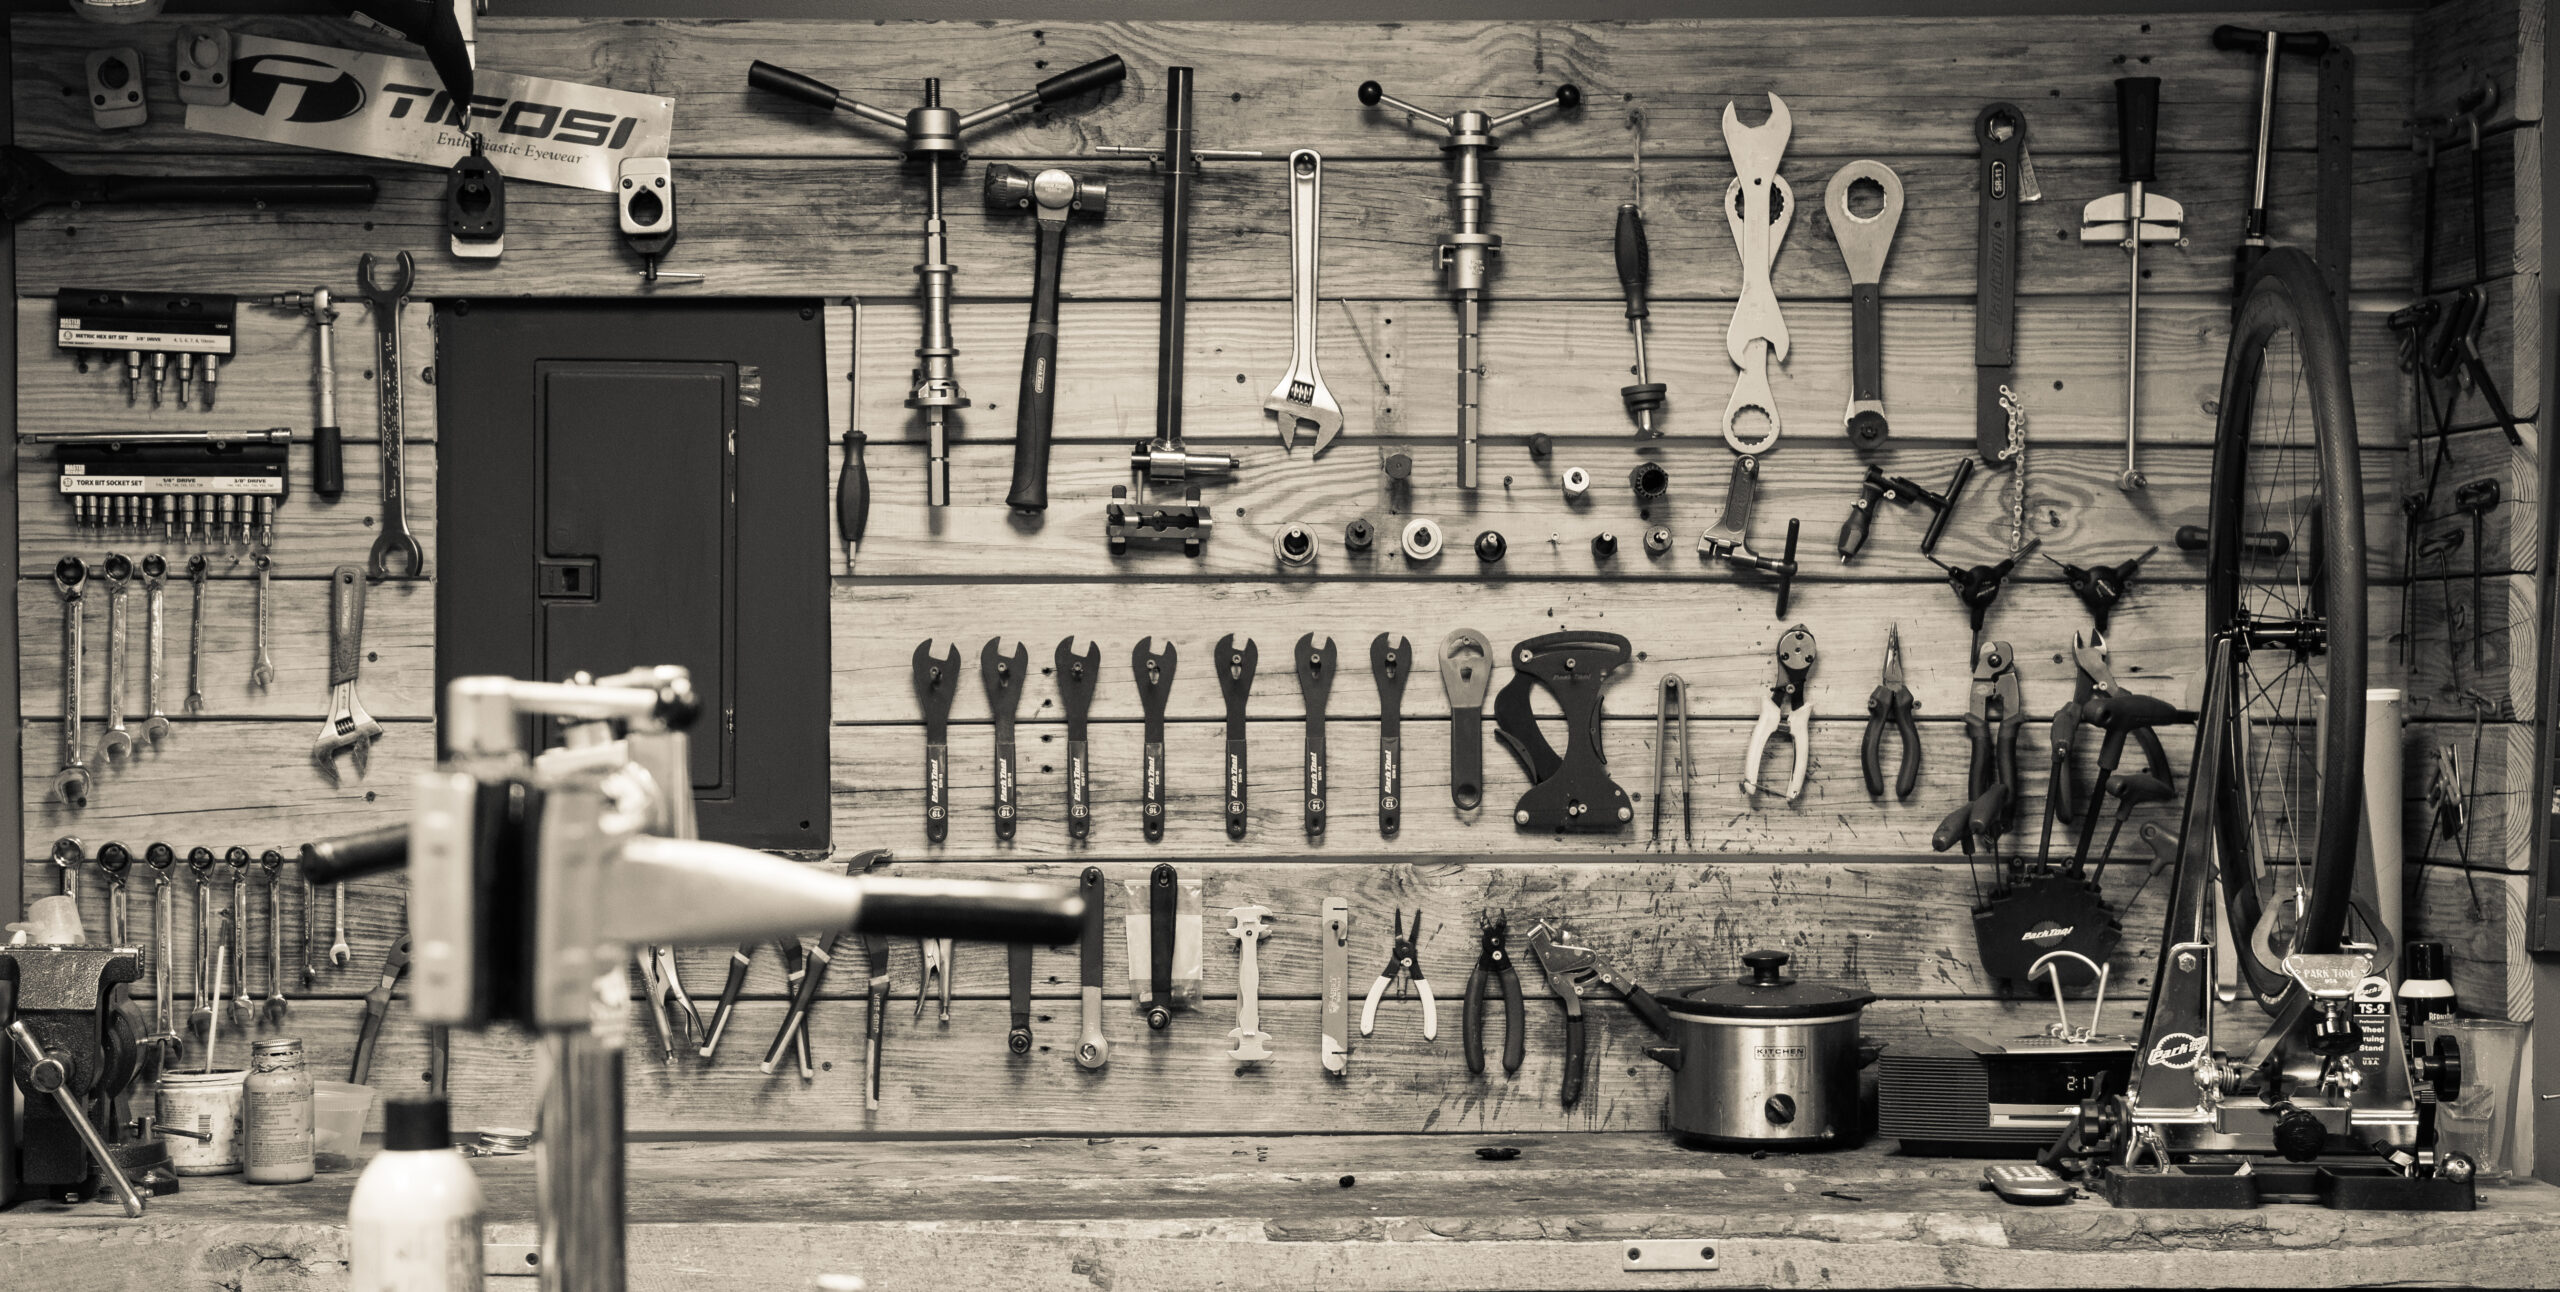
Okay, let’s dive in. Disassembly is like an archeological dig. You need a method to the madness.
Pro Tip: Take photos. Lots of them. Before you remove a thing. How did that cable route? Which way did that nut face? You will forget. And, get yourself a magnetic parts tray and a bunch of labeled ziplock bags. Trust me on this.
Dealing with stubborn, seized parts is where patience is forged. A proper penetrating oil like PB Blaster or Kroil is your best friend. Let it soak. Tap the part gently with a mallet to shock the threads. Use the correct tools—a set of cable wrenches for those old, soft nuts is non-negotiable unless you want rounded edges and a whole lot of frustration.
Frame and Fork: The Heart of the Matter
The frame is the soul of your vintage bicycle. Its treatment deserves the most care.
Preservation Approach
If the original paint is mostly intact, just tired, you can work wonders. A gentle wash with a mild soap like Dawn is step one. For old, dried-out paint, a product like WD-40 Specialist Corrosion Inhibitor can rejuvenate it beautifully. For scratches and rust spots, a little touch-up with a carefully matched model paint or even a clear nail polish to seal it works wonders. The goal is to stabilize, not erase.
Restoration Approach
For a full strip-down, you have options. Chemical strippers, media blasting (with a very gentle medium like walnut shells), or even careful hand-sanding. The key is to avoid damaging the underlying metal. Once bare, you can address any dings or dents before sending it off for a professional powder coat or a period-correct wet paint job. It’s more expensive, sure, but the durability and finish are unmatched.
Component Revival: Cleaning, Polishing, Re-greasing
This is where the magic happens. You’d be amazed what a simple disassembly and clean can do.
Let’s talk about that vintage bicycle drivetrain. Remove the chain, cassette, and chainrings. Soak them in a degreaser. An old toothbrush is your most valuable tool here. For steel components, a soak in a vinegar solution or a product like Evapo-Rust can dissolve rust without harming the metal. It feels like a miracle.
Bearings in the hubs, bottom bracket, and headset need fresh grease. Pack them with a quality, high-temperature grease. The smooth, silent spin of a freshly serviced wheel hub is a deeply satisfying reward.
Chrome restoration can be tricky. For light pitting, aluminum foil dipped in water works shockingly well. For heavier rust, a polish like Autosol or Simichrome can bring back the shine. But if the chrome is flaking off, it’s a lost cause—replacement is your only option.
The Reassembly: A Symphony of Parts
This is the reverse of the tear-down, but with a critical difference: everything is clean, lubricated, and ready for another lifetime of use.
Use a thread-locker on critical fasteners, but sparingly. You want the next restorer in 40 years to be able to get them apart. Grease every thread, every pivot point. It’s the best defense against future corrosion.
Cable and housing replacement is one of the single biggest upgrades you can make for ride quality. New, slick, modern cables inside lined housing make shifting and braking buttery smooth.
Common Vintage Bike Issues and How to Solve Them
| Issue | Pain Point | Solution |
| Stuck Seatpost | Impossible to adjust saddle height; a classic headache. | Penetrating oil, heat (carefully!), and a long lever. Last resort: an ammonia-based penetrating oil or a frame shop. |
| Frozen Stem | Can’t turn the handlebars; makes the bike unrideable. | Loosen the stem bolt, apply penetrant, tap downward. The “pipe extension on the handlebars” trick can work, but risks damage. |
| Obsolete Wheel Sizes | Finding tires for 27″ wheels or other old standards. | Thankfully, companies like Panaracer and Schwalbe still make great 27″ tires. Or, consider a wheelbuilding project to a modern 700c size. |
| Cottered Crankarms | An outdated, frustrating system to remove and service. | A cotter press is the right tool. The hammer-and-bolt method is the… adventurous way. Often, a conversion to a square-taper bottom bracket is a wise long-term upgrade. |
Final Touches and The First Ride
You’re almost there. New bar tape, a classic-style saddle, and perhaps a period-correct bottle cage complete the look. Inflate the tires. Do a final safety check: brakes, quick-releases, headset tightness.
Then, you take that first ride. The gentle click of the freewheel, the solid feel of the steel frame, the way it tracks straight without any input… it’s a connection to the past. You’re not just riding a bike; you’re piloting a story you helped save.
Every scrape you didn’t buff out, every component you brought back from the brink, it all adds to the narrative. It’s a rolling piece of art. And honestly, that’s a story worth telling with every turn of the pedals.